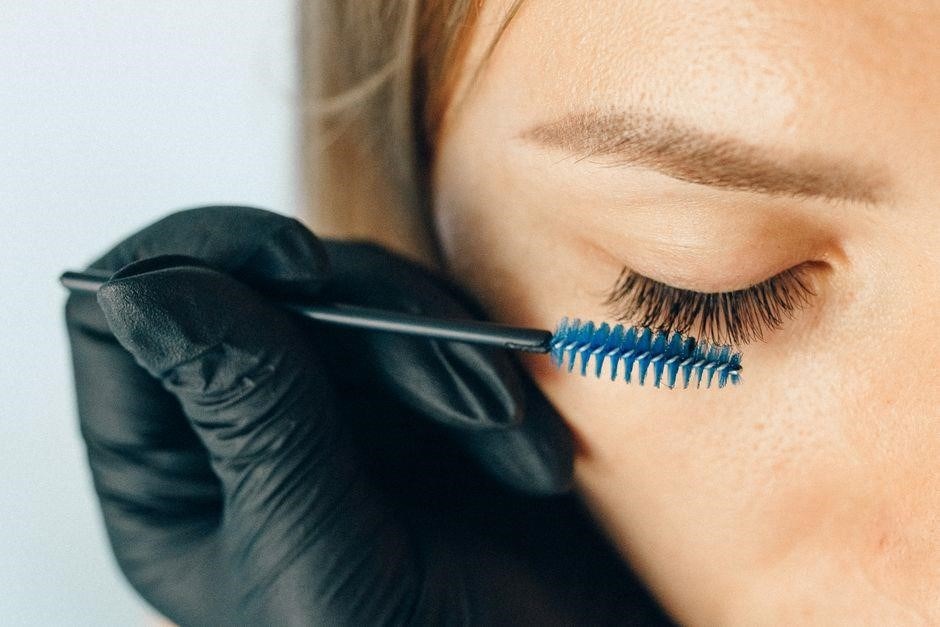
Discover how to chart eyelash extensions, selecting lengths and curls that enhance each eye shape. A clear map balances volume, creates natural lift, and ensures safe placement. Mastering this skill elevates artistry and client satisfaction. Precision mapping cuts waste, boosts saves time for client
Key Tools and Materials
Before you begin a lash mapping session, gather a reliable set of tools and materials that support precision and safety. The core kit typically includes a high‑magnification loupe, a clean, flat work surface, calibrated tweezers, and a dedicated lash lift and extension kit. A calibrated ruler or pre‑marked lash chart helps you accurately measure extension lengths and segment placement. The adhesive should be a low‑to‑medium strength, silicone‑based formula that offers a quick set time while maintaining a secure bond. A gentle, hypoallergenic lash cleanser and a small brush or cotton pad for pre‑cleaning the natural lashes are essential to remove oils and debris. A small, disposable brush or a silicone brush for applying adhesive ensures minimal contamination. A set of high‑quality, pre‑curled extension lashes in various lengths (short, medium, long) and curl types (J, B, C, D) allows you to customize the look for each eye shape. Finally, a clean, disposable tray or a small container for each client’s lashes keeps the workspace organized and prevents cross‑contamination. All items should be sterilized or disposable to maintain hygiene and comply with industry standards.
Additional supportive tools include a lash separator to keep individual extensions from sticking together, a lash comb for detangling, a small timer to track adhesive setting times, and a bright, adjustable light source to illuminate the lash line. A high‑quality mirror or a portable LED lamp ensures you can see fine details during application. A small, disposable tray or a set of individual containers for each client’s lashes keeps the workspace organized and prevents cross‑contamination. A digital scale for measuring adhesive weight can be useful for advanced practitioners seeking consistency.
Proper storage and maintenance of tools are critical for longevity and hygiene. After each session, clean tweezers, brushes, and separators with isopropyl alcohol, then rinse with warm water and dry thoroughly. Store tweezers in a protective case to prevent damage, and keep the adhesive in a cool, dry place to preserve its viscosity. Use a dedicated lash storage case with compartments for different lengths and curls, ensuring easy access during appointments. Regularly inspect all tools for wear or damage; replace any that show signs of deterioration to maintain a professional standard. Keep tools dry and clean daily.

Step-by-Step Lash Mapping Process
Clean and prep the eye. 2. Measure lash line. 3. Mark segments. 4. Choose lengths & curls. 5. Apply adhesive. 6. Place extensions. 7. Check balance. 8. Seal and clean. 9. Final review.
This systematic approach ensures balanced, safe, customized lash extensions tailored to each client’s shape look !
Assess Eye Shape
Begin by positioning the client comfortably and ensuring the eye area is clean and free of makeup. Use a magnifying mirror to observe the natural lash line from the inner corner to the outer corner. Note the curvature, width, and any asymmetry. These observations provide the foundation for a personalized lash map that enhances the client’s natural beauty. This assessment also helps determine the extension and how many lashes per segment will provide the desired volume.
Next, identify the key landmarks: the inner corner, the mid‑point of the lash line, and the outer corner. Measure the distance between these points to determine the overall lash line length. A longer line may benefit from a gradual length gradient, while a shorter line often works best with a more uniform approach. Record these measurements for reference during mapping. If the client has sensitivity, opt for shorter lengths and lighter curls to reduce irritation.
Assess the eye’s angle by observing how the brow line interacts with the lash line. If the brow tilts upward, a more pronounced curl may be needed to balance the lift. For downward tilting, a softer curl can prevent the lashes from looking too dramatic. Understanding this relationship ensures the final lash style feels natural and flattering. Additionally, observe the eyelash growth direction; extensions should follow this path to maintain a seamless look.
Finally, consider the client’s lifestyle and desired look. For a subtle enhancement, choose a natural map that follows the eye’s natural curve. If the client prefers drama, a cat‑eye map with a pronounced lift at the outer corners can be effective. Document your assessment in a quick sketch or note to reference during the mapping process. Make sure to note any lash extensions or, as this will influence your choice of adhesive and placement. This ensures a natural look.
Use this comprehensive assessment to tailor lash lengths, curl types, and density, ensuring each client receives a balanced, customized, and stunning lash look and confidence!!!!
Define Lash Line Segments
After assessing the eye shape, the next step is to segment the lash line into distinct zones that will guide the placement of extensions. Begin by marking the inner corner, the mid‑point, and the outer corner with a gentle dot of eyeliner or a small sticker. These reference points create a baseline for the map. From the inner corner to the mid‑point is the “inner segment,” typically the area that benefits from a subtle lift and a slightly shorter length to keep the eye looking wide and bright. The mid‑point to the outer corner forms the “middle segment,” where you can introduce a moderate curl and a slightly longer length to add dimension. Finally, the “outer segment” is where the most dramatic effect is achieved; a pronounced curl and the longest length can create a cat‑eye look that elongates the eye.
When mapping, consider the client’s eye shape, natural lash length, and the desired lift. For a narrow eye, a slightly longer outer segment can create the illusion of width, while a wide eye may benefit from a shorter outer segment to avoid a stretched look. The inner segment should remain using a short length and a gentle curl to preserve natural brightness. The middle segment can be denser to add fullness, but avoid over‑crowding. Adjust the density in each segment based on the client’s lifestyle: a busy professional may prefer a low‑maintenance map with moderate curl and shorter lengths, whereas a client seeking drama may opt for a high‑curl, longer‑length map that accentuates the outer corners. Keep it.OK
Choose Extension Lengths
Deciding on the proper length for each lash segment is crucial for achieving a balanced, natural look while ensuring client comfort. Start by measuring the client’s natural lash length from the lash base to the tip. Use a ruler or a specialized lash length chart to determine the base length. For the inner segment, select a length that is 20–25% shorter than the natural lash to avoid a heavy appearance near the inner corner. The middle segment can match the natural length or be slightly longer—about 10–15% longer to create subtle lift. The outer segment should be the longest, extending 20–30% beyond the natural lash, which provides the desired cat‑eye effect. Always consider the client’s eye shape: narrow eyes benefit from a slightly longer outer segment to widen the appearance, while wide eyes may need a moderate outer length to prevent over‑extension. Additionally, the client’s lifestyle and maintenance preferences influence length choice; a busy professional may prefer a shorter overall length for easier upkeep, whereas a client seeking drama may opt for longer extensions. Finally, test the chosen lengths on a small sample of lashes before full application to ensure the desired aesthetic and to confirm that the extensions do not cause strain or discomfort. Adjust as needed based on the client’s feedback and the lash growth cycle.
For longevity, pick 8–10mm; for drama, 12–14mm. Shorter lashes need fewer touch‑ups, longer ones more maintenance. Keep a backup map for consistency. Adjust lengths to match the client’s growth cycle and daily. Ensure XXX hydration!
Select Curl Types
Choosing the right curl is the cornerstone of a flawless lash map. Different curl profiles—J, B, C, D, and L—offer distinct angles and lift. The J‑curl, with its gentle lift, is ideal for clients who desire a subtle, natural enhancement. B‑curl provides a moderate lift and is versatile for most eye shapes, while C‑curl delivers a pronounced, dramatic lift that works well for clients seeking a more dramatic look. D‑curl offers the highest lift, creating a dramatic, cat‑eye effect, but it can be too intense for some clients, especially those with narrow or almond‑shaped eyes. L‑curl, the most extreme, is perfect for clients who want a “wow” factor and are comfortable with a very dramatic lift.
When mapping, match the curl to the eye shape and desired outcome. For round eyes, a B‑curl on the inner segment and a C‑curl on the outer segment can create a flattering lift without exaggeration. For oval eyes, a C‑curl throughout the map can enhance the natural shape. Clients with a natural, subtle look often benefit from a J‑curl on the inner segment and a B‑curl on the outer segment. For a dramatic, cat‑eye look, use a D‑curl on the outer segment and a B‑curl on the inner segment. Always test a small sample of lashes with the chosen curl before full application to ensure the client’s comfort and satisfaction.
Consider the client’s lifestyle and maintenance routine. A B‑curl is generally easier to maintain and less likely to cause strain or irritation. For clients who prefer a bold look and are willing to invest in more frequent touch‑ups, a D‑curl or L‑curl can be a great choice. Additionally, the thickness of the extension plays a role; thicker lashes pair well with higher curls, while thinner lashes work best with lower curls. By carefully selecting the curl type for each segment, you can create a balanced, personalized lash map that enhances the client’s natural beauty while ensuring comfort and durability.
Remember to document the chosen curl types in the client’s record. This helps maintain consistency across sessions and allows for easy adjustments if the client’s preferences change; By mastering curl selection, you ensure each lash map is tailored, safe, and stunning.
Popular Lash Map Styles
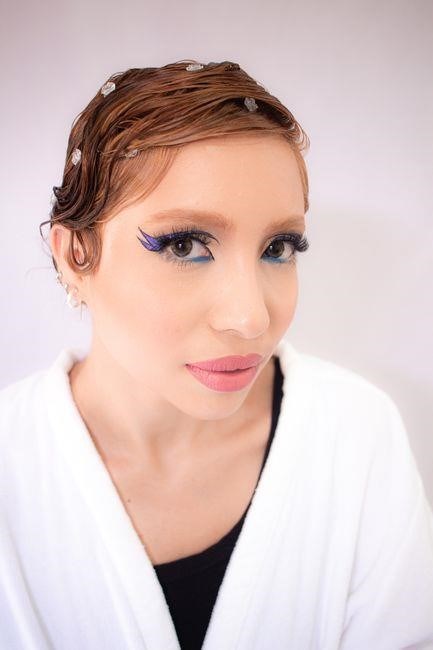
Natural, cat‑eye, doll‑eye, and squirrel styles dominate. Each map balances length, curl, and volume to suit eye shape and desired drama. Artists customize segments to highlight lashes, create lift, and achieve a flawless, personalized look. Clients pick curls that match eye shape for subtle lift.!!
Natural
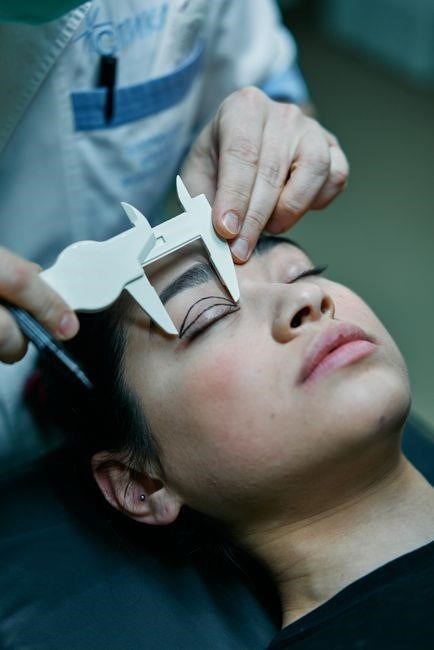
The Natural lash map emphasizes realism, for clients who want a polished look that feels like an extension of their own lashes. It preserves the eye’s shape while adding gentle length and lift, creating a seamless, balanced finish.
Measurement starts with the client’s lash length, usually 8–10 mm. A moderate curl—often a 2 or 3—provides lift without dramatic curvature. The artist uses a ruler or digital caliper to ensure precise length selection and consistency across the map.
The map is divided into three zones: the inner corner receives the shortest extensions (6–7 mm) to maintain the natural curve; the mid‑lash uses medium lengths (8–9 mm) for a gentle lift; the outer corner receives slightly longer lashes (9–10 mm) to create a soft arch that opens the eye. This zonal approach follows the eye’s contour, enhancing its shape without exaggeration.

Volume is kept minimal, typically 1–2 extensions per lash, to preserve a realistic look. The curl type is usually a 2 or 3, offering lift that mimics the lash line, ensuring the set feels authentic.
Color choices mirror the client’s lash color, often a light brown or black, to avoid a faux appearance. Tinting can be added for depth, but the emphasis remains on maintaining the hue so the extensions blend seamlessly with the client’s lashes.
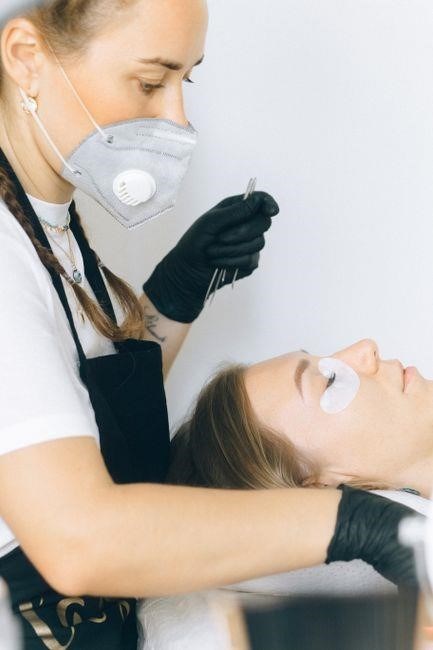
The Natural style suits wear, office settings, or understated evening events. By following these guidelines, the map delivers a balanced, understated enhancement that respects the eye’s beauty while adding a length and definition.!!!??
Cat-Eye
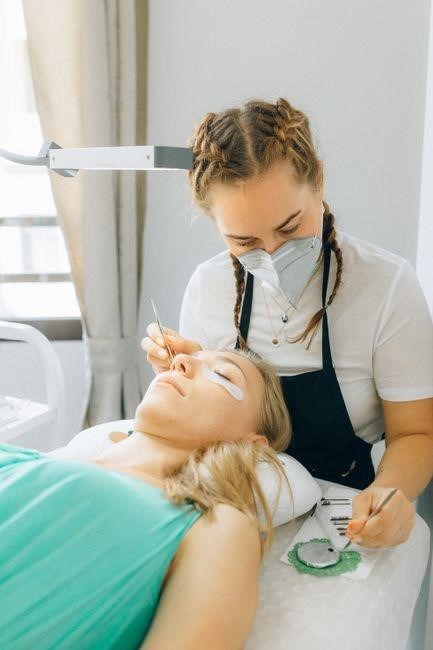
Cat-Eye lash mapping provides a dramatic lift that enhances the outer corner of the eye. Cat-Eye lash mapping provides a dramatic lift that enhances the outer corner of the eye. Cat-Eye lash mapping provides a dramatic lift that enhances the outer corner of the eye. Cat-Eye lash mapping provides a dramatic lift that enhances the outer corner of the eye. Cat-Eye lash mapping provides a dramatic lift that enhances the outer corner of the eye. Cat-Eye lash mapping provides a dramatic lift that enhances the outer corner of the eye. Cat-Eye lash mapping provides a dramatic lift that enhances the outer corner of the eye. Cat-Eye lash mapping provides a dramatic lift that enhances the outer corner of the eye. Cat-Eye lash mapping provides a dramatic lift that enhances the outer corner of the eye. Cat-Eye lash mapping provides a dramatic lift that enhances the outer corner of the eye. Cat-Eye lash mapping provides a dramatic lift that enhances the outer corner of the eye. Cat-Eye lash mapping provides a dramatic lift that enhances the outer corner of the eye. Cat-Eye lash mapping provides a dramatic lift that enhances the outer corner of the eye. Cat-Eye lash mapping provides a dramatic lift that enhances the outer corner of the eye. Cat-Eye lash mapping provides a dramatic lift that enhances the outer corner of the eye. Cat-Eye lash mapping provides a dramatic lift that enhances the outer corner of the eye. This style is perfect for evening events, adding a striking allure and brigt Enhance eye. Add lift.!!!
Doll-Eye
In a Doll‑Eye lash map focuses on a gentle, rounded lift that enhances the natural roundness of the eye. Start by mapping the inner lashes with a modest length, then gradually increase the length toward the outer corner. This graduated approach keeps the look soft and approachable while adding a subtle volume that feels natural.
Choose a medium‑to‑high curl, such as a 5‑C or 6‑C, to give the lashes a soft, rounded tip. Consistency across the set is key; a slight variation in curl can create a more dynamic look, but avoid dramatic changes that might shift the eye’s balance.
Density should be low to medium—about 30 to 40 lashes per inch. The inner lashes receive the lowest density, the mid‑line a moderate density to add fullness without overwhelming the eye. This gradient keeps the Doll‑Eye airy.
Finish with a clean, precise line. Ensure the extensions are evenly spaced and free of gaps. A gentle sheen from aftercare products enhances the youthful appearance. Clients report feeling more approachable and less “over‑done,” making this style a popular choice for everyday wear.
When applying the extensions, start at the inner lashes and work outward, ensuring each lash is placed at a 45‑degree angle to the natural lash line. Use a light adhesive to prevent clumping, and allow each segment to dry fully before adding the next. This technique preserves the natural movement of the eye and keeps the Doll‑Eye look balanced and elegant.
Soft, airy lashes bring calm!!
Eye Shape Mapping Tips
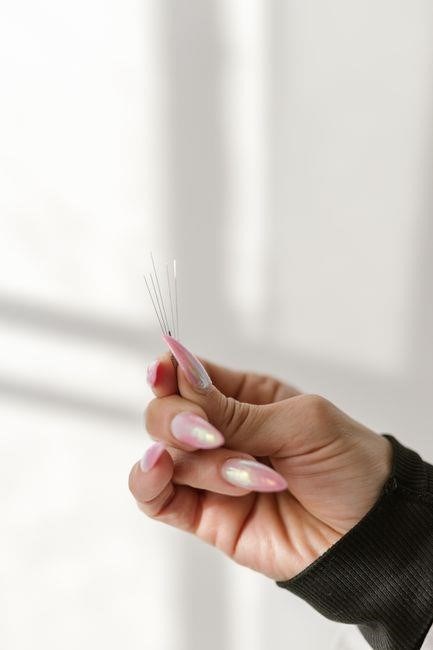
Use a mirror to assess eye shape, then map lash segments accordingly. For round eyes, add length at the outer corner; for oval, keep a balanced lift. Choose curls that enhance natural curvature, and adjust density for volume control.
Round Eyes
Round eyes often appear wide and can benefit from a strategic lash map that creates the illusion of length and lift. Start by identifying the natural lash line and marking the outer third of the eye. Use a small, precise marker to outline the desired lash line, ensuring the line remains slightly curved to follow the eye’s natural shape. For the inner third, select a shorter extension length—typically 8‑10 mm—to keep the base of the eye balanced and prevent a “puffy” look. The middle third should receive a medium length, around 12‑14 mm, providing a subtle lift that elongates the eye. When choosing curl types, a moderate curl (C or D) works best for round eyes, as it offers lift without excessive volume that could overwhelm the eye’s shape. Apply a lower density of extensions in the inner third to maintain a natural appearance, and increase density toward the outer third to accentuate the eye’s outer corner. This approach creates a gentle, eye‑opening effect that enhances the round shape without making the eye appear too wide. Always test the map on a sample client or a practice eye before final application to ensure the desired balance and to adjust any lengths or densities as needed. By following these guidelines, you can achieve a flattering, balanced look that highlights the natural beauty of round eyes while maintaining a professional, safe application. Additionally, consider using a 0.5‑mm increment system to fine‑tune the transition between segments, ensuring a seamless gradient. If the client prefers a more dramatic look, you can extend the outer third to 15‑16 mm, but always keep the inner third at 8 mm to preserve the eye’s natural balance. Remember to check the client’s eye shape in both natural and relaxed states, as some round eyes may appear slightly narrower when the eyelids are closed. Finally, document the map in a clear diagram for future reference, allowing you to replicate the look or adjust it for seasonal changes. Practice patience and adjust on the fly; a well‑executed map can transform a client’s confidence;
Oval Eyes
Oval eyes are naturally elongated, offering a versatile canvas for lash mapping. Begin by marking the lash line with a fine, flexible pen, ensuring the line follows the eye’s gentle curve; For the inner third, choose a slightly shorter extension—around 9‑11 mm—to preserve the eye’s natural length and avoid a “puffy” appearance. The middle third should receive a medium length of 13‑15 mm, providing a subtle lift that accentuates the eye’s natural elongation. The outer third benefits from a longer extension, ranging from 16‑18 mm, to enhance the eye’s outer corner and create a dramatic, eye‑opening effect. When selecting curl types, a moderate to high curl (C, D, or even a light L) works well for oval eyes, as it adds lift without compromising volume. Apply a lower density in the inner third to maintain a natural look, and increase density toward the outer third to emphasize the eye’s outer corner. This gradient approach creates a balanced, flattering look that highlights the oval shape. Always test the map on a sample client or a practice eye before final application to ensure the desired balance and to adjust any lengths or densities as needed. Document the map with a clear diagram for future reference, allowing replication or seasonal adjustments. Practice patience and adjust on the fly; a well‑executed map can transform a client’s confidence. This meticulous approach guarantees a balanced look that accentuates natural beauty while maintaining an elegant finish. By carefully calibrating each segment, the lash map not only enhances the eye’s natural allure but also ensures longevity, as the balanced distribution reduces strain on the natural lashes and promotes healthy growth over time. This meticulous planning also saves time during application, fast!!!