The Honeywell T6 Pro Smart Thermostat offers advanced control and convenience for your home’s heating and cooling systems.
This guide details the installation process, ensuring a smooth transition and optimal performance.
Explore features like remote access, scheduling, and energy-saving reports, all designed to enhance your comfort and reduce energy consumption.
Understanding the wiring diagram and following safety precautions are crucial for a successful installation.
The T6 Pro is compatible with a wide range of HVAC systems, providing a versatile solution for various homes.
Proper setup unlocks the full potential of this smart thermostat, offering a modern and efficient way to manage your home climate.
What is the Honeywell T6 Thermostat?
The Honeywell T6 Pro Smart Thermostat represents a significant advancement in home climate control technology. It’s designed as a user-friendly, yet powerful, device for managing your heating and cooling systems. Unlike traditional thermostats, the T6 Pro offers smart features like Wi-Fi connectivity, allowing remote control via the Honeywell Home app.
This thermostat isn’t just about convenience; it’s about energy efficiency. Through programmable schedules and geofencing capabilities, the T6 Pro helps optimize energy usage, potentially lowering your utility bills. The thermostat is compatible with a broad spectrum of HVAC systems, including conventional and heat pump setups, making it a versatile choice for many homes.
Installation, while straightforward, requires careful attention to wiring and safety precautions. The T6 Pro boasts a clear, intuitive interface on the device itself, and the accompanying mobile app provides even greater control and insight into your home’s temperature. It’s a smart investment for anyone seeking a more comfortable and efficient home environment.
Key Features and Benefits
The Honeywell T6 Pro Smart Thermostat is packed with features designed for comfort, convenience, and cost savings. Wi-Fi connectivity allows remote control via the Honeywell Home app, enabling adjustments from anywhere. Smart scheduling lets you create customized heating and cooling plans to match your lifestyle, optimizing energy use.
Geofencing automatically adjusts the temperature based on your location, ensuring comfort upon arrival and savings when away. The thermostat supports up to 3H/2C staging for enhanced system control. Energy savings reports provide insights into your usage patterns, helping you identify areas for improvement.
Beyond functionality, the T6 Pro boasts a sleek, modern design that complements any décor. Installation is relatively straightforward, and the intuitive interface makes operation simple. Compatibility with Alexa and Google Assistant enables voice control, adding another layer of convenience. Ultimately, the T6 Pro delivers a smarter, more efficient way to manage your home’s climate.
Pre-Installation Checklist
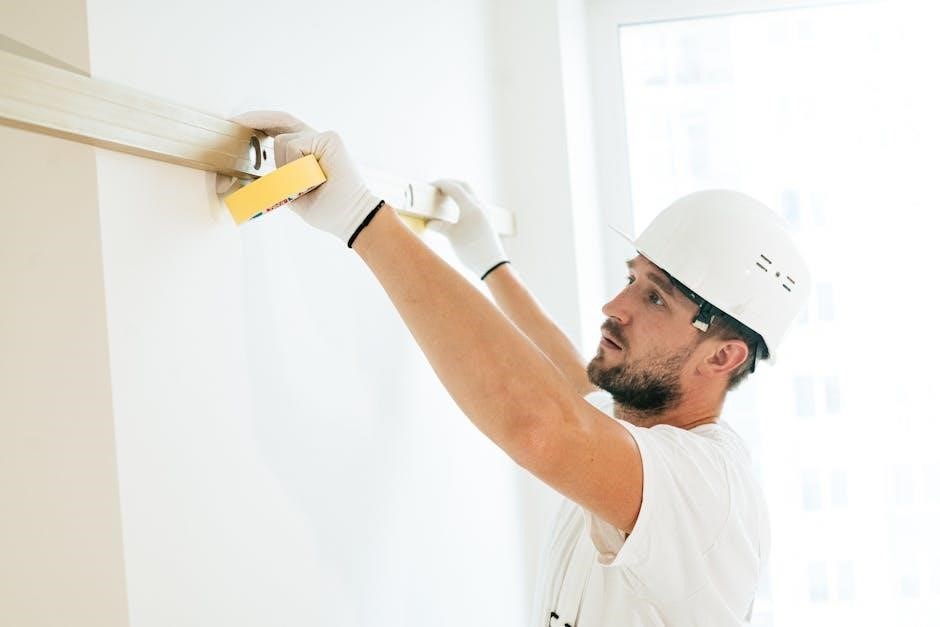
Before beginning, gather necessary tools, review safety guidelines, and identify your existing HVAC system’s wiring configuration for a seamless installation process.
Confirm compatibility and power down the system to prevent electrical hazards during the thermostat replacement.
Tools Required for Installation
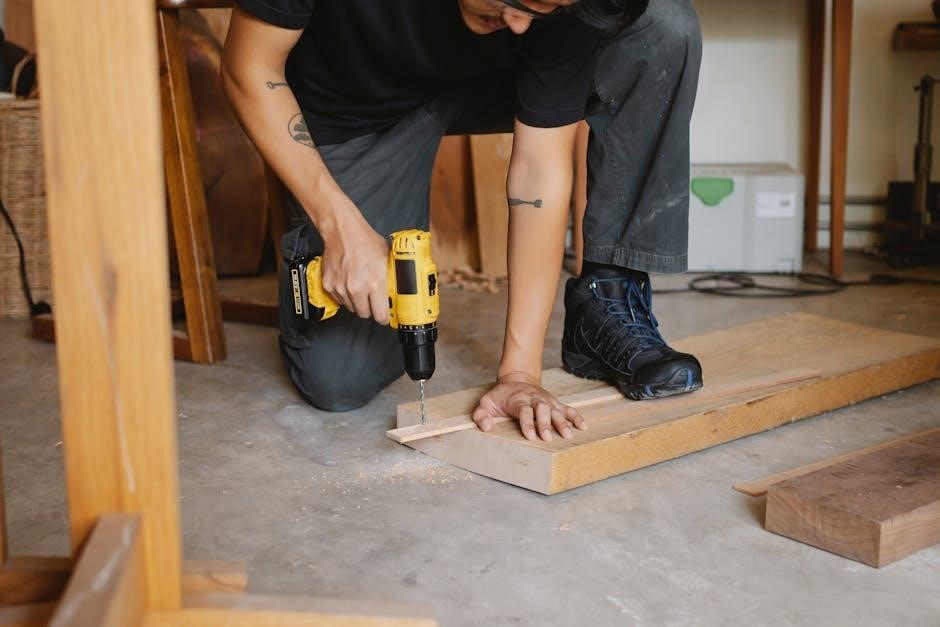
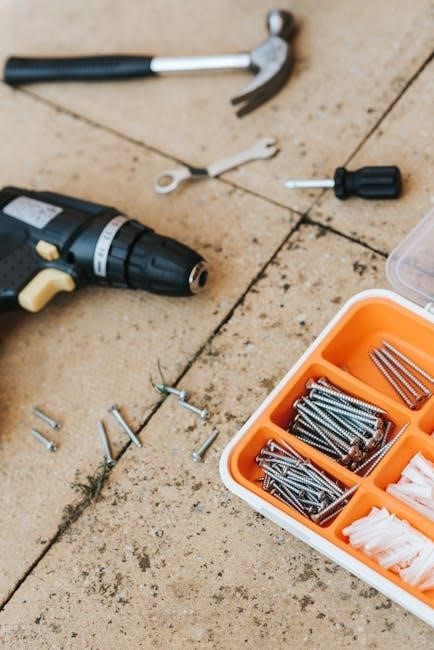
Successfully installing your Honeywell T6 Pro Smart Thermostat requires a few essential tools to ensure a safe and efficient process. First, you’ll need a Phillips head screwdriver for removing the old thermostat and securing the T6 base plate. A flathead screwdriver might also be useful for certain wiring connections.
A small level is crucial for mounting the thermostat base plate straight on the wall, ensuring accurate temperature readings. Wire strippers are necessary to expose fresh wire ends for secure connections to the terminal blocks. Don’t forget a voltage tester – this is a vital safety tool to confirm the power is completely off to your HVAC system before you begin working with the wiring.
Pencil and drill (with appropriate drill bits) are needed for marking and creating mounting holes if the existing holes don’t align. Finally, having a digital camera or smartphone to photograph the existing wiring configuration before disconnecting anything is highly recommended as a reference during the installation.
These tools will help you complete the installation with confidence and accuracy.

Safety Precautions
Prioritizing safety is paramount when installing your Honeywell T6 Pro Smart Thermostat. Always turn off the power to your HVAC system at the circuit breaker before beginning any work. Use a voltage tester to confirm the power is off at the thermostat wires – never assume! This prevents electrical shock.
Be mindful of the wiring; incorrect connections can damage your HVAC system or the thermostat. If you are uncomfortable working with electrical wiring, consult a qualified HVAC technician. Avoid touching any bare wires or metal parts.
Wear safety glasses to protect your eyes from debris during drilling or wiring. Keep children and pets away from the work area. If you encounter any unexpected issues or are unsure about any step, stop and seek professional assistance.
Following these precautions will ensure a safe and successful installation process, protecting both you and your equipment.
Identifying Your Existing System
Before installing your Honeywell T6 Pro, accurately identifying your existing HVAC system is crucial. Determine if you have a conventional system (furnace and air conditioner) or a heat pump. Note the number of wires connected to your current thermostat – this dictates compatibility and wiring configuration.
Common wiring configurations include C-wire (common wire), R-wire (power), W-wire (heat), Y-wire (cool), and G-wire (fan). Carefully label each wire before disconnecting it from the old thermostat. Take a photograph for reference.
If you lack a C-wire, the T6 Pro may require a C-wire adapter (sold separately). Heat pump systems often have additional wires for reversing valves and auxiliary heat. Consult the T6 Pro’s wiring diagram and your HVAC system’s documentation to ensure proper connection.
Accurate identification prevents compatibility issues and ensures correct functionality.
Step-by-Step Installation Guide
Begin by safely disconnecting power to your HVAC system at the breaker. Remove your old thermostat, carefully labeling each wire for accurate reconnection to the T6 baseplate.
Follow the wiring diagram closely, and securely mount the baseplate before attaching the thermostat display.
Turning Off Power to Your HVAC System
Safety is paramount when installing your Honeywell T6 Pro thermostat. Before commencing any work, absolutely ensure the power to your heating, ventilation, and air conditioning (HVAC) system is completely switched off.
Locate the circuit breaker panel, typically found in your basement, garage, or utility room. Identify the breaker that controls your HVAC system – it’s often labeled “Furnace” or “HVAC,” but may require some investigation.
Flip the breaker to the “OFF” position. To confirm the power is indeed off, use a non-contact voltage tester at the existing thermostat wires. If the tester doesn’t indicate any voltage, you’re safe to proceed. Never attempt installation with power still running, as this poses a serious risk of electrical shock and damage to your equipment.
Double-check that the HVAC system remains unresponsive after switching off the breaker. This final verification step is crucial for a safe and successful installation process.
Removing the Old Thermostat
With the power safely disconnected, you can now proceed to remove your existing thermostat. Carefully detach the thermostat cover. This usually snaps off or is held in place by small screws. Take a clear photograph of the existing wiring connections before disconnecting anything – this will be an invaluable reference during the T6 Pro installation.
Label each wire with the corresponding terminal designation on the old thermostat. Use the provided wire labels or masking tape and a pen. Gently disconnect each wire from the terminals, ensuring they don’t slip back into the wall.
Once all wires are disconnected, unscrew the old thermostat baseplate from the wall. Be mindful of any wall anchors or screws that may need to be removed. Dispose of the old thermostat responsibly.
Now you have a clean slate for mounting the new Honeywell T6 Pro baseplate.
Connecting the Wires – T6 Wiring Diagram
Refer to the T6 wiring diagram included with your thermostat and the photograph you took of your old thermostat’s wiring. Match each labeled wire to the corresponding terminal on the T6 Pro baseplate. Common terminals include R (power), C (common), W (heat), Y (cool), and G (fan).
Gently insert each wire into the correct terminal, ensuring it’s securely fastened. Avoid stripping the wire insulation further than necessary. If you have a wire that doesn’t correspond to a T6 Pro terminal, cap it off with a wire connector and tuck it safely into the wall.
Double-check all connections against the diagram and your photograph. Incorrect wiring can damage your HVAC system or the thermostat. A secure and accurate connection is vital for proper operation.
Ensure no bare wires are exposed to prevent short circuits.
Mounting the T6 Thermostat Base Plate
Once the wires are securely connected, carefully position the T6 thermostat base plate against the wall where your old thermostat was located. Use the included level to ensure the base plate is perfectly horizontal. This is crucial for a professional-looking installation and accurate temperature readings.
Mark the screw holes on the wall using a pencil. If you’re mounting to drywall, use the provided wall anchors for a secure hold. Drill pilot holes at the marked locations, if necessary.
Align the base plate with the holes and secure it to the wall using the provided screws. Do not overtighten the screws, as this could damage the base plate or the wall. Ensure the base plate sits flush against the wall.
A properly mounted base plate provides a stable foundation for the thermostat display.

Configuring the T6 Thermostat
After mounting, attach the thermostat display to the base plate, ensuring a secure connection.
Power on the device and follow the on-screen setup wizard for initial configuration.
Connect to your home’s Wi-Fi network to unlock smart features.
Attaching the Thermostat Display
Carefully align the thermostat display with the mounted base plate. Ensure the connection pins are properly oriented to prevent damage during attachment. Gently press the display onto the base plate until you hear a distinct click, indicating a secure connection.
Verify the display is firmly seated and doesn’t wobble. A loose connection can lead to intermittent operation or inaccurate readings. If the display doesn’t attach easily, double-check the alignment of the pins and avoid forcing it.
Once attached, the thermostat will automatically power on, initiating the initial setup process. The display will guide you through the necessary steps, including language selection and date/time configuration. This initial setup is crucial for proper functionality.
Refer to the manual for specific instructions and troubleshooting tips if you encounter any difficulties during the attachment process. A properly attached display is essential for accessing all the features of your Honeywell T6 Pro Smart Thermostat.
Initial Power-Up and Setup Wizard
Upon successful display attachment, the Honeywell T6 thermostat will power on, initiating the setup wizard. This intuitive process guides you through essential configurations for personalized operation. The first step typically involves selecting your preferred language and confirming the correct date and time.
Next, the wizard will prompt you to configure your HVAC system type – heat pump, forced air, or radiant, among others. Accurate system identification is vital for optimal performance and efficient climate control. Follow the on-screen prompts carefully, selecting the options that best match your home’s setup.
The wizard also facilitates connecting to your home’s Wi-Fi network, enabling remote access and smart features via the Honeywell Home app. Ensure a stable Wi-Fi signal during this step. Completing the setup wizard unlocks the full potential of your T6 thermostat.
Connecting to Wi-Fi
To unlock the smart features of your Honeywell T6 thermostat, connecting to Wi-Fi is essential. From the thermostat’s display, navigate to the settings menu and select the “Connect to Wi-Fi” option. The thermostat will scan for available networks in your area, displaying a list for you to choose from.
Select your home network from the list and enter your Wi-Fi password when prompted. Ensure you enter the password correctly, as incorrect credentials will prevent connection. The thermostat will attempt to establish a connection, displaying a status message during the process.
A successful connection is indicated by a Wi-Fi symbol appearing on the thermostat’s display. Once connected, you can download and utilize the Honeywell Home app for remote control and advanced features. Troubleshooting steps are available in the app if connection issues arise.

Programming and Operation
The Honeywell T6 thermostat allows for customized scheduling, remote control via the Honeywell Home app, and flexible system mode selection (Heat, Cool, Auto).
These features optimize comfort and energy efficiency.
Setting Schedules
Creating personalized schedules is a core function of the Honeywell T6 Pro, allowing you to tailor your home’s temperature to your daily routine. Through the thermostat interface or the Honeywell Home app, you can establish distinct periods for Wake, Leave, Return, and Sleep.
Each period can be assigned a specific temperature setting, ensuring comfort when you’re home and energy savings when you’re away. The T6 Pro supports different schedules for weekdays and weekends, accommodating varying lifestyles.
You can easily adjust these schedules at any time, overriding them temporarily with a “Hold” function for unexpected changes. The app provides a visual representation of your schedule, making it simple to understand and modify. Utilizing schedules effectively maximizes energy efficiency and minimizes heating and cooling costs, providing a comfortable and cost-effective home environment.
Remember to save your changes after each adjustment!
Using the Honeywell Home App
The Honeywell Home app extends the functionality of your T6 Pro thermostat to your smartphone or tablet, offering remote control and monitoring capabilities. After connecting your thermostat to Wi-Fi, download the app and create an account to begin.
The app mirrors the thermostat’s interface, allowing you to adjust temperature settings, create and modify schedules, and switch between system modes (Heat, Cool, Auto, Off) from anywhere with an internet connection.
Beyond basic control, the app provides real-time energy usage data, alerts for extreme temperatures, and access to advanced features like geofencing. You can also integrate the app with other smart home platforms like Alexa or Google Assistant for voice control. Regular app updates ensure optimal performance and access to the latest features, enhancing your overall smart home experience.
Ensure your app is always up to date!
Understanding System Modes (Heat, Cool, Auto)
The Honeywell T6 Pro thermostat offers three primary system modes: Heat, Cool, and Auto, each designed for different climate control scenarios. In Heat mode, the thermostat activates your heating system when the temperature drops below the setpoint, ensuring a warm and comfortable environment.
Conversely, Cool mode activates your air conditioning when the temperature rises above the setpoint, providing cooling relief. The Auto mode intelligently switches between heating and cooling to maintain your desired temperature, automatically selecting the appropriate system based on current conditions.
This mode is ideal for climates with fluctuating temperatures. Understanding these modes allows you to optimize your home’s comfort and energy efficiency. You can easily switch between modes directly on the thermostat or through the Honeywell Home app, tailoring your climate control to your specific needs and preferences.

Troubleshooting Common Issues
Addressing common problems with your Honeywell T6 Pro is straightforward. This section provides solutions for power failures, Wi-Fi connectivity, and inaccurate temperature readings.
Quickly resolve issues and restore optimal thermostat functionality for consistent comfort and control.
Thermostat Not Powering On
If your Honeywell T6 thermostat fails to power on after installation, several factors could be at play. First, verify the power supply at your HVAC system’s circuit breaker; ensure it hasn’t tripped.
Next, double-check all wiring connections at both the thermostat base and the furnace/air handler. A loose or incorrectly connected wire is a frequent cause. Refer to the T6 wiring diagram to confirm proper placement.
Confirm the C-wire (common wire) is securely connected. The T6 Pro often requires a C-wire for consistent power. If you didn’t have a C-wire previously, you may need to install one, potentially requiring professional assistance.
Inspect the thermostat’s battery compartment (if applicable) and replace the batteries with fresh ones. Finally, ensure the thermostat display is firmly attached to the base plate, as a poor connection can prevent power-up. If issues persist, consult a qualified HVAC technician.
Wi-Fi Connection Problems
Experiencing difficulty connecting your Honeywell T6 thermostat to Wi-Fi? Begin by verifying your home network is functioning correctly and that you have the correct password. Ensure the thermostat is within range of your Wi-Fi router; walls and distance can weaken the signal.
Restart both your router and the thermostat. A simple reboot often resolves temporary connectivity issues. Within the Honeywell Home app, double-check that you’ve selected the correct Wi-Fi network and entered the password accurately.
Confirm your router’s security settings are compatible with the T6. Some older routers with outdated security protocols may cause connection problems. Temporarily disable your router’s firewall to see if it’s blocking the connection (remember to re-enable it afterward!).
If problems continue, try resetting the thermostat’s Wi-Fi module through the settings menu. If all else fails, contact Honeywell support for further assistance.
Incorrect Temperature Readings
Are you noticing inaccurate temperature readings on your Honeywell T6 thermostat? First, ensure the thermostat isn’t directly exposed to sunlight, drafts, or heat sources like lamps, as these can significantly affect its accuracy.
Verify the thermostat is level; an uneven installation can lead to skewed readings. Check for obstructions around the thermostat that might be blocking airflow. Calibrate the temperature within the thermostat’s settings menu – this allows you to adjust the displayed temperature to match a trusted thermometer.
Confirm the thermostat’s location isn’t in an area with poor air circulation. If the issue persists, try a soft reset of the thermostat. If you recently replaced your old thermostat, ensure the wiring is correct and there are no loose connections.
Contact Honeywell support if calibration and troubleshooting steps don’t resolve the problem.
Advanced Features
Unlock the full potential of your T6 thermostat with geofencing, smart home integration, and detailed energy reports for optimal comfort and savings.
These features enhance convenience and control, providing a truly personalized home climate experience.
Geofencing
Geofencing utilizes your smartphone’s location to automatically adjust your thermostat settings, maximizing comfort and energy efficiency. By setting a virtual perimeter around your home within the Honeywell Home app, the T6 thermostat can detect when you’re approaching or leaving.
When your smartphone exits the geofenced area, the thermostat can automatically switch to an energy-saving “Away” mode, lowering the temperature in winter or raising it in summer. Conversely, as you re-enter the geofence, the thermostat will return to your preferred “Home” temperature, ensuring a comfortable environment upon your arrival.
This feature eliminates the need to manually adjust the thermostat, providing seamless and intelligent climate control. You can customize the geofence radius to suit your needs and even create multiple geofences for different locations, such as work or a family member’s home. Geofencing offers a convenient and effective way to reduce energy waste and maintain a comfortable home environment without constant manual adjustments.
Smart Home Integration (Alexa, Google Assistant)
The Honeywell T6 Pro seamlessly integrates with popular smart home ecosystems like Amazon Alexa and Google Assistant, offering voice control and enhanced automation capabilities. After linking your Honeywell Home account to your preferred voice assistant, you can control your thermostat using simple voice commands.
For example, you can ask Alexa or Google Assistant to set the temperature, adjust the fan speed, or switch between heating, cooling, and auto modes. This hands-free control adds convenience and accessibility to your home comfort management.
Furthermore, integration allows you to include your thermostat in smart home routines. You can create routines that automatically adjust the temperature based on time of day, other smart device states, or specific events. This unlocks a new level of personalized comfort and energy efficiency, making your home truly smart and responsive to your needs.
Energy Savings Reports
The Honeywell T6 Pro thermostat provides detailed energy savings reports through the Honeywell Home app, empowering you to understand and optimize your energy consumption. These reports track your heating and cooling usage over time, presenting data in an easy-to-understand format.
You can view historical trends, identify peak usage periods, and compare your energy consumption to previous months or years. This valuable insight allows you to make informed decisions about your thermostat settings and adjust your habits to reduce energy waste.
The app also offers personalized tips and recommendations based on your usage patterns, suggesting ways to further improve your energy efficiency. By leveraging these reports, you can actively lower your energy bills and contribute to a more sustainable lifestyle, all while maintaining a comfortable home environment.